 In this post I am going to share all the parts you need to build your own super tiny tinyPEPPER 4in1 Blheli_S ESC. All the following information applies to the current version 0.5 of tinyPEPPER (tagged as revision 0.5). If you are wondering what makes this thing so special, have a look at the main tinyPEPPER project page.
Changelog
v0.5: (this one)
– switched to efm8bb21 (pin compatible but DSHOT600)
– better tabs (you can now solder from the side)
v0.4:
– added motor phase tabs
v0.3:
– initial release
Circuit board
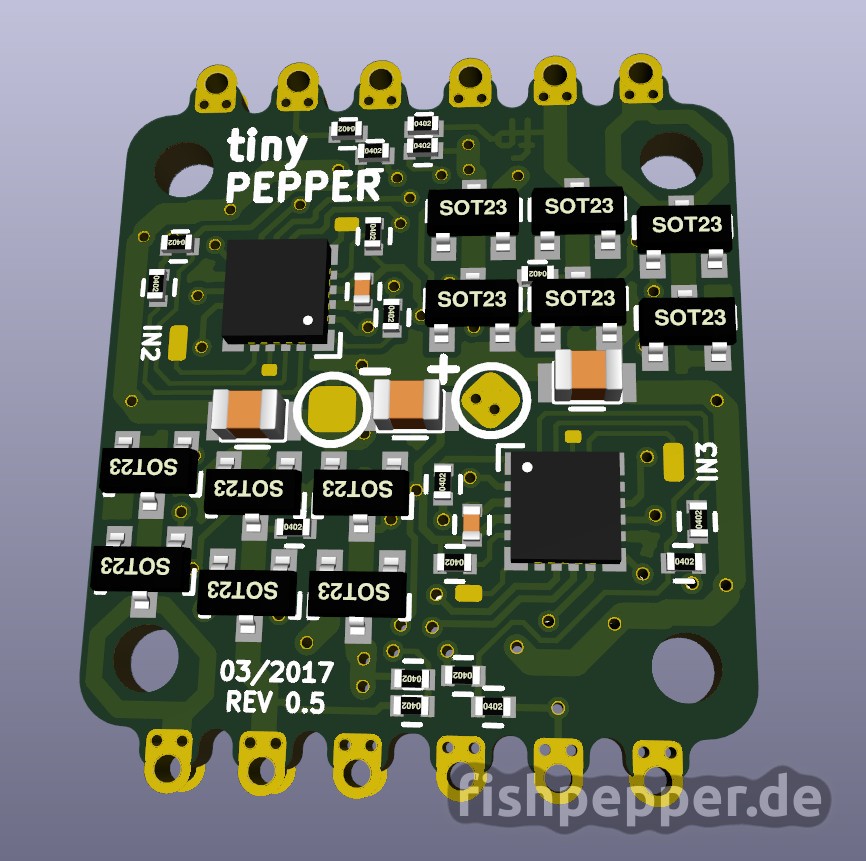 This board uses the same outer dimensions as my tinyFISH FC: ~20x20mm with a hole-to-hole distance of 16mm (M2). When manufactured in 0.8mm FR4 the completely assembled board weights silly 1.2grams! This board requires some experience with SMD soldering and requires a hot air gun or a reflow oven.
BOM
You can find the bill of materials with part references and ordering numbers for farnell and mouser on this google doc sheet. Make sure to order genuine mosfets, the clones on aliexpress have a very poor quality (higher RDSon and bad thermal dissipation).
Design files
The design files are released under the CERN open hardware license v1.2. Before using the design files for commercial projects please make sure that you read and understand this license! You can use the files for your projects, just make sure to give proper credit (by e.g. linking to the tinyPEPPER ESC page). Additionally release all modifications you do and all work you derivate from this under the same license.
You can find the design in the kicad file format on my github repository. You will need a recent version from kicad. I compiled my own binaries from kicad commit hash #efdfaeb.
If you want to skip the hassle of rendering the gerber board files on your own you can simply skip this step and checkout and order the part from OSHPark.com using this Link (rev 0.5). They offer a really great quality for a ridiculous low price (it is $3 for three copies!). Make sure to order the 0.8mm and 2 Oz copper version.
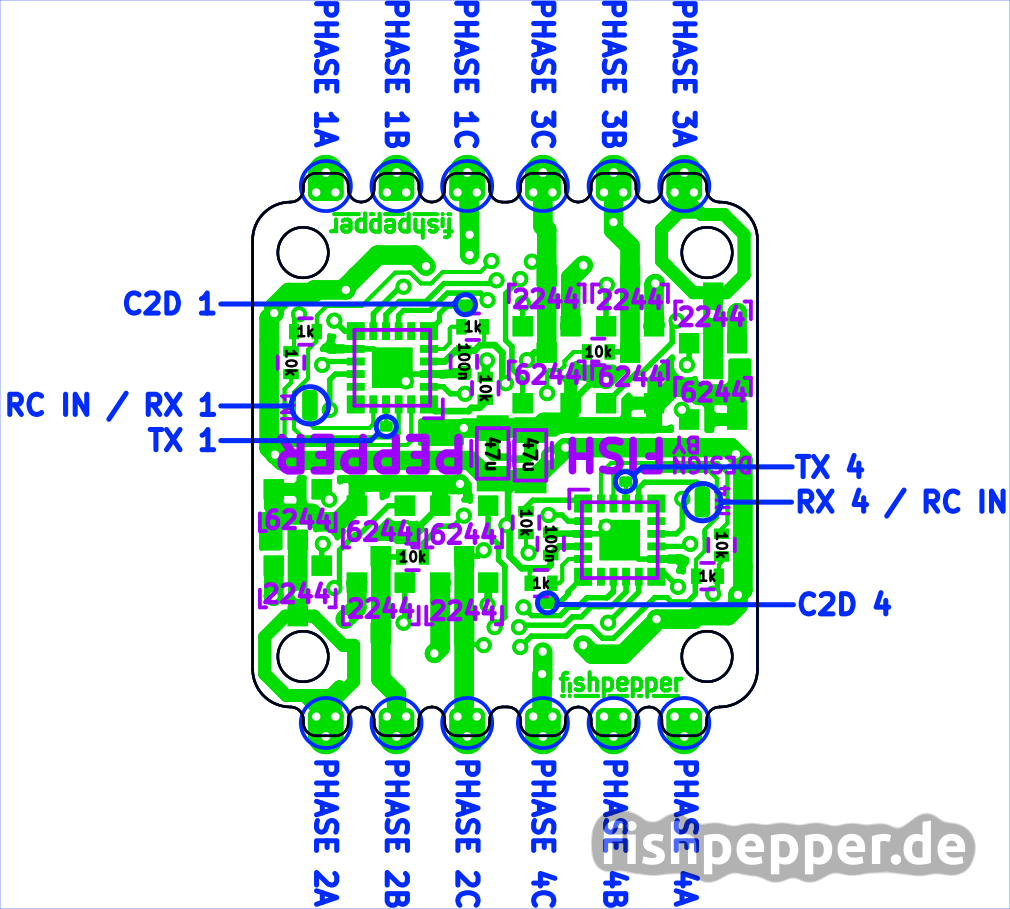
Placement & Connections
You can use the following diagrams for the component placement. See my github repository for the full resolution files in SVG format.

Do it!
Now it is time to build your own! This page has all the information you need to build your own tinyPEPPER ESC. Sure, this required very fine pitch soldering, but if you have some experience with SMD soldering give it a try! If this sounds to complicated to you, do not worry, I am quite sure someone will pick this design up and sell it sooner or later.
If you have built any my stuff I would be happy to see and hear how it turned out for you — send me an email!
Hi Simon !
Will your 2s esc be 16x16mm as well ?
I’d like to ask you a few other things as well. Is there an email -I can use to talk to you ?
Thanks for all your work.
Regards,
Yes of course it will be 16×16 😉
You can reach me at fishpepper AT gmail.com