 When Charles sent me the 1580 series dynamometer he told me that the default load cell that comes with this test stand might not be ideal for the tiny thrust levels of my micro brushless motors. He suggested that I replace the load cell with a different model. As the original cell measures thrust up to 5Kg, measuring 100g of thrust would use only the lower 2% of its resolution. This will give poor resolution and very low accuracy. You can compare it to using a bathroom scale to measure ingredients for a cake; no one would do that.
This tutorial will show you how to replace the load cell with a different version in order to measure lower thrust motor/propeller combinations at a higher resolution. Please note that you are no longer running inside the guaranteed specs of the test stand, so do not blame RCBenchmark or me if something goes wrong. 😉
Shopping Time
As my thrust tests will probably never exceed 500g the best choice would be a 0.5Kg version. Unfortunately I could only source a 1Kg version of this model. Smaller versions will have different dimensions and mounting holes. So I opted for this 1Kg version for the sake of simplicity. Measuring 100g of thrust will now use 10% of the whole resolution. Thats five times better than the unmodified version.
Buy one or three of them depending on which test stand you want to modify. In addition to the single thrust measuring load of the 1520 series, the 1580 Dynamometer uses two additional cells for the torque measurement. You can find a matching 1Kg load cell on Banggood or on Aliexpress. Make sure to order the 1Kg version. 😉
Installation
The installation is quite straightforward. All you have to do is to mount a matching connector, and mount the load cell to the test stand.
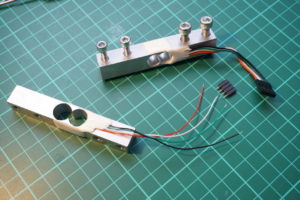
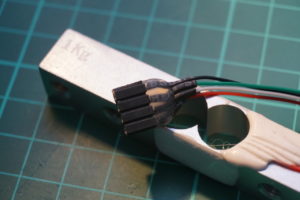
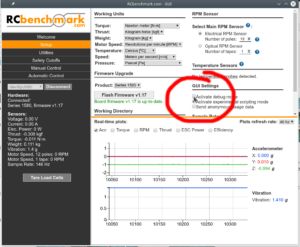
Once done, it’s time to re-calibrate the test stand. Before proceeding with the usual steps for calibration, there is one thing you will have to do: The software has a built-in check that verifies that the load cell gives valid data. As this safeguard assumes a 5Kg load cell, it will reject the readings from the 1Kg load cell. Lucky for us there is an unlock code to override this feature at your own risk. First, enable the debug options:
Now head over to the debug tab and enter the unlock code “kGL7Lj” and press enter.
The debug console should show you the message, “Calibration will now always pass.” As of writing this there is a bug in the Linux (?) version of the RCBenchmark application and it does not accept those unlock codes. Charles knows about it and it will be fixed in the next release. Once the code is accepted you can calibrate the test stand as normal.
Calibration
The calibration process is the same that you would have done before when using the 5Kg load cell. Enter the Utilities sub menu and click on “Calibrate Thrust”. This will open a wizard that will guide you through the calibration procedure.
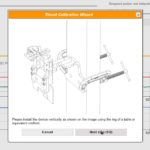
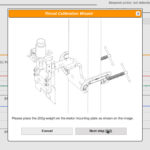
You will have to clamp the test stand to a pole and take two measurements with and without the test weight. Once this is finished you will have to run the Torque calibration as well. Again, a wizard will guide you through the process by using instructional drawings:
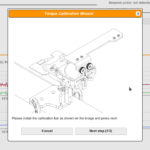
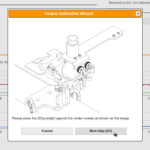
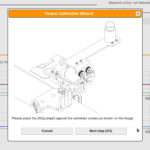
Once finished you can mount your ESC and motor, and clamp the whole setup to your table. Please note that you should never measure thrusts of more than 1Kg with this test stand now. If you want to revert the test stand back to its original official specs, please reinstall and recalibrate the 5Kg load cell.
That’s it! Now have some fun with your micro motor thrust tests!


Nice. Thanks for sharing.